EECS 280 Tutorials
macOS command line tools
macOS comes with a Terminal and can run UNIX command-line tools directly.
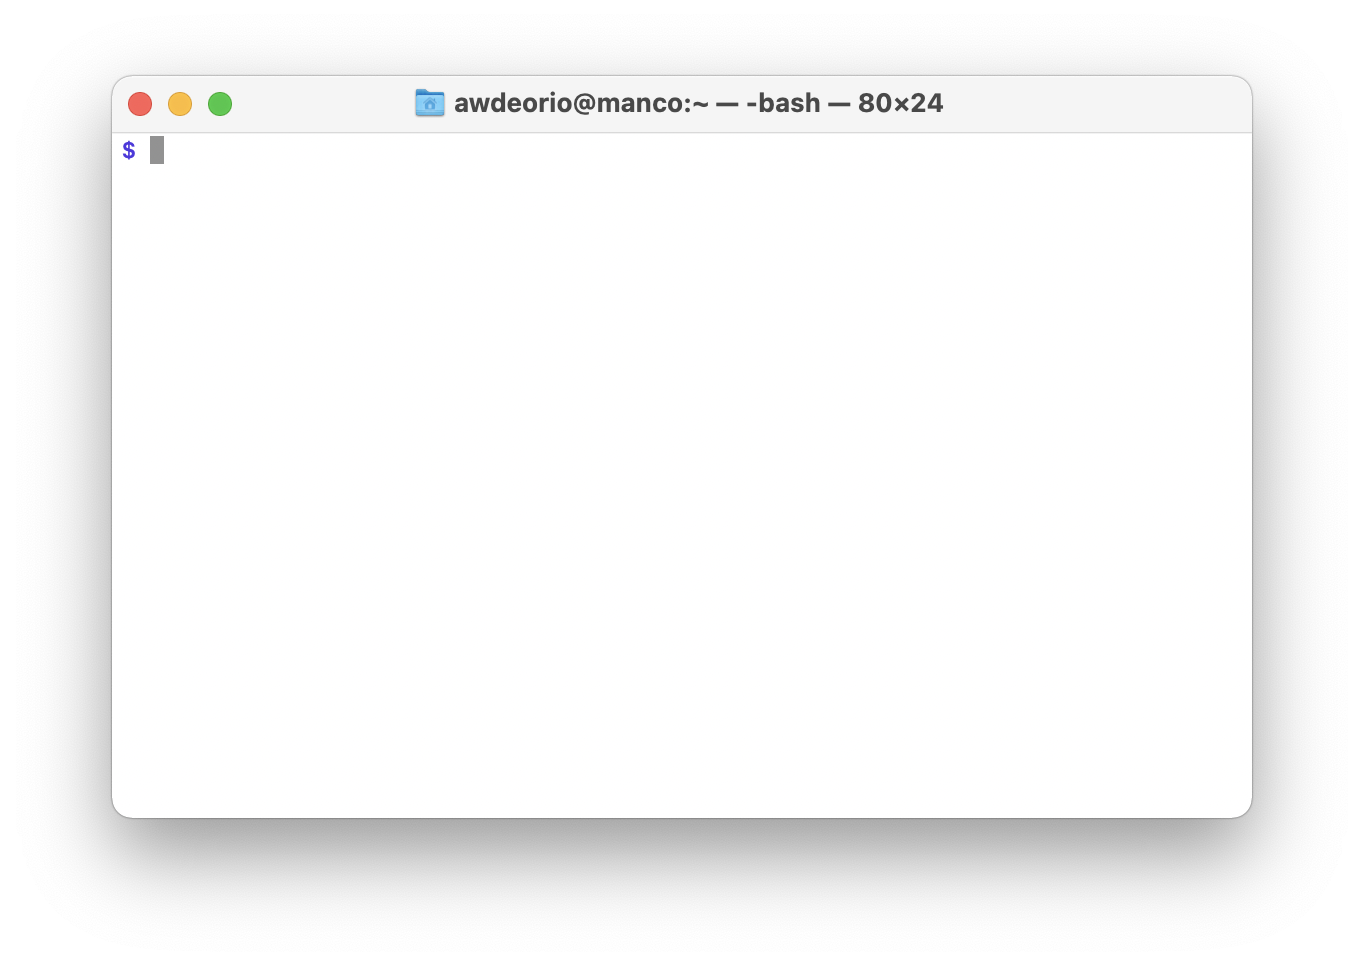
The macOS terminal command prompt ends with a $. To follow the steps below, type commands that appear after the $ and hit enter.
Open terminal
Open the Terminal application which comes with macOS.

Install compiler
Install a compiler.
$ xcode-select --install
Notice that this compiler is really Apple Clang pretending to be g++. Your version might be different.
$ g++ --version
Apple clang version 17.0.0 (clang-1700.0.13.5)
Target: arm64-apple-darwin24.6.0
Thread model: posix
InstalledDir: /Library/Developer/CommandLineTools/usr/bin
Homebrew package manager
Install the Homebrew package manager.
$ /bin/bash -c "$(curl -fsSL https://raw.githubusercontent.com/Homebrew/install/master/install.sh)"
Then run the following to add Homebrew to your path:
$ echo 'eval "$(/opt/homebrew/bin/brew shellenv)"' >> ~/.zprofile
Close your terminal and reopen your terminal.
Check your install. Your version might be different.
$ brew --version
Homebrew 4.6.4
Install CLI tools
Use the Homebrew package manager to install a few command line programs.
$ brew install wget git tree
Home Directory
Run cd ~. This will take you to your home directory. Running pwd afterward confirms the location. (Your username will be different.)
$ cd ~
$ pwd
/Users/jjuett
Create an EECS 280 folder by running mkdir ~/eecs280. Running ls afterward confirms the folder has been created.
$ mkdir ~/eecs280
$ ls
Desktop		Downloads	Movies		Pictures	eecs280
Documents	Library		Music		Public
We highly recommend you store all coding work for EECS 280 projects and labs here.
Pitfall: Avoid paths that contain spaces. Spaces cause problems with some command line tools.
| Bad Example | Good Example |
|---|---|
EECS 280/ |
eecs280/ |
Project 1 Stats/ |
p1-stats/ |
Use CLI tools
Now would be a great time to take a look at our CLI Tutorial.
Pro-tips
CLI open file
Opens a file or directory with the default application, like a double click. See the open command in the CLI tutorial.
Troubleshooting
This section is for common problems and solutions.
Reinstall Compiler
You may notice that your compiler stops working or that the C++ standard library is unavailable (i.e. #include stops working) after installing other software development tools or after a macOS update. Reinstall your command line tools and compiler to fix this issue.
First, remove the previous command line tools. Be careful to enter this command correctly. You will be prompted to enter your password.
$ sudo rm -rf /Library/Developer/CommandLineTools
Next, reinstall the command line tools. A separate window will pop up asking you to confirm. It may take several minutes to install.
$ xcode-select --install
If you are working in an IDE like VS Code, you’ll need to close and restart it as well.
Acknowledgments
Original document written by Andrew DeOrio awdeorio@umich.edu.
This document is licensed under a Creative Commons Attribution-NonCommercial 4.0 License. You’re free to copy and share this document, but not to sell it. You may not share source code provided with this document.